ADVERTISEMENT
Step 2: Brown the Beef
While the pasta is cooking, heat a large skillet over medium-high heat. Add 1 lb of ground beef and cook, breaking it apart with a spatula as it browns. Stir and cook the beef until there is no pink left, and the beef is fully cooked. Once done, drain any excess fat from the skillet.
Next, sprinkle in a package of taco seasoning, stirring it into the beef until fully coated. This step transforms the beef into that classic taco flavor we all know and love. Set the seasoned beef aside while you work on the cheese sauce.
Step 3: Make the Cheese Sauce
In the same large pot you used to cook the pasta, melt 2 tablespoons of butter over medium heat. Once the butter is fully melted and bubbling, slowly pour in 1 cup of milk, stirring constantly to avoid scalding.
Now, it’s time for the magic ingredient—cream cheese. Add 8 oz of softened cream cheese into the pot and whisk it into the milk. Stir continuously until the cream cheese has fully melted and you’re left with a smooth, creamy mixture. At this point, you’ll notice the sauce starting to come together.
Next, add in 2 cups of shredded cheddar cheese. Stir until the cheddar is melted into the cream cheese mixture, creating a luscious, cheesy sauce that you’ll want to dive into with a spoon. Resist the temptation and move on to the next step.
Step 4: Combine Everything
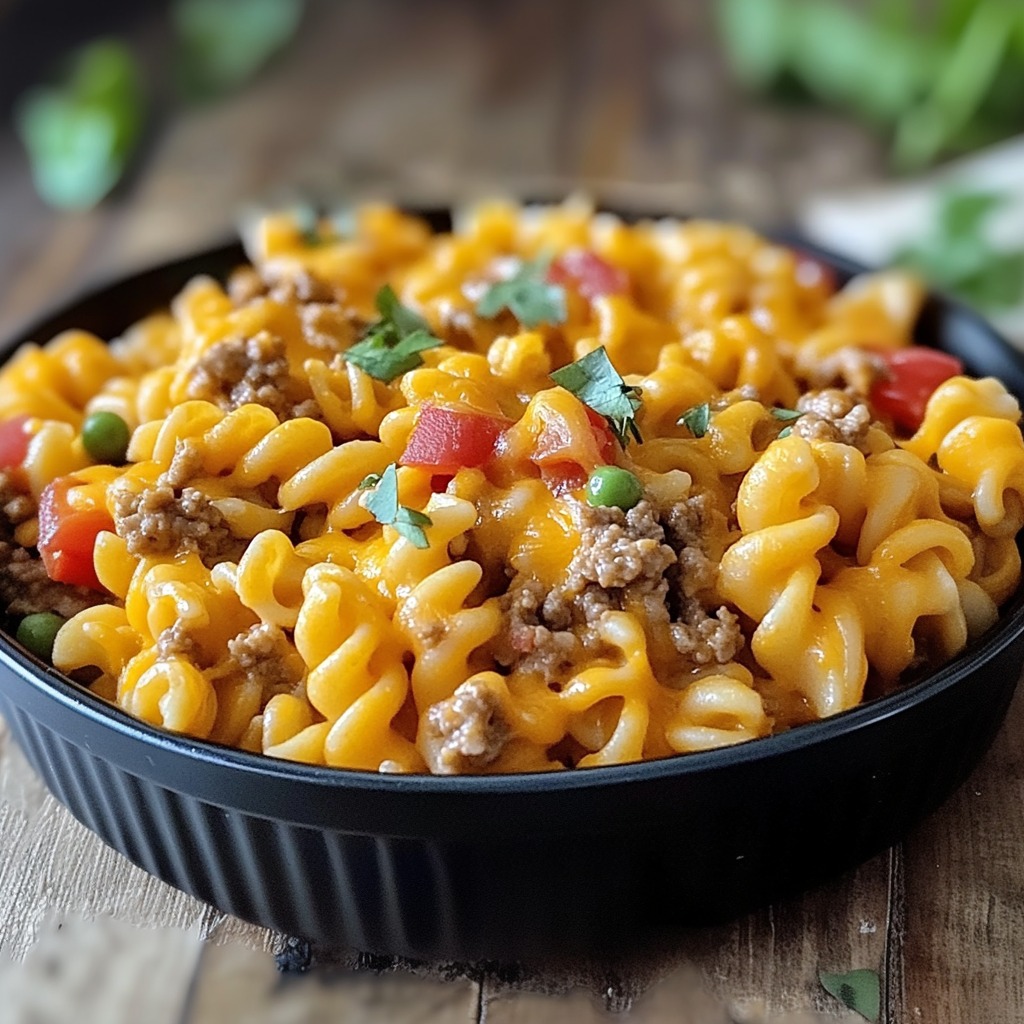
Now that your cheese sauce is ready, it’s time to bring everything together. Add the cooked pasta and seasoned ground beef to the cheese sauce. Stir to combine, ensuring that every piece of pasta and every bite of beef is coated in the rich, cheesy goodness.
Open and drain 1 can of diced tomatoes with green chilies, then stir it into the pasta mixture. The tomatoes and chilies add a bright, slightly spicy note that balances out the richness of the sauce. Stir everything together until the tomatoes are evenly distributed.
Taste the mixture and season with salt and pepper to taste. Let the pasta simmer for 2-3 minutes over low heat to allow all the flavors to meld together.
Step 5: Serve and Enjoy
Your Cheesy Taco Cream Cheese Pasta is now ready to serve! Spoon it into bowls and, if desired, garnish with chopped cilantro, diced green onions, or a dollop of sour cream to add a fresh and zesty finish.
Optional Sides:
This pasta dish is hearty and filling on its own, but if you’re looking to round out the meal, here are a few serving ideas:
Tortilla Chips: Serve alongside some crispy tortilla chips for added texture and crunch. You can even dip the chips into the cheesy pasta for an extra fun taco-pasta experience.
Green Salad: Balance the richness of the pasta with a light and refreshing green salad. A simple lettuce mix with a citrus vinaigrette would pair perfectly.
Mexican Rice or Beans: For a heartier meal, consider serving the pasta alongside Mexican rice or refried beans. These sides complement the taco-inspired flavors of the dish.
Storage Options:
If you have any leftovers (though they may disappear quickly!), here’s how to store them for later enjoyment:
Refrigeration: Store the leftover pasta in an airtight container and refrigerate for up to 3-4 days. To reheat, simply warm it in the microwave or on the stovetop, adding a splash of milk to keep the sauce creamy.
Freezing: This pasta also freezes well. Allow it to cool completely before transferring to a freezer-safe container. It can be frozen for up to 2 months. To reheat, thaw the pasta in the refrigerator overnight and then warm it on the stovetop or in the microwave. Again, adding a little milk will help bring the sauce back to its creamy consistency.
Final Thoughts:
Cheesy Taco Cream Cheese Pasta is the ultimate blend of two favorite comfort foods—tacos and pasta. The creamy cheese sauce, with the taco-flavored beef and the slight heat from the chilies, creates a dish that’s both satisfying and delicious. Whether you’re cooking for family, friends, or just yourself, this meal is sure to become a go-to recipe in your kitchen. Plus, with minimal prep and just a few simple ingredients, it’s a weeknight winner!
Enjoy your new favorite dinner with a side of fun and flavor!
ADVERTISEMENT
